Thought I would share some more photos of the project I have been working
on for Halloween, I am hoping to have it finished soon. Not to much more to
do just have to figure out how to do what I want to do to finish it.
I have pretty much figured out how I want to light
this display box up using fiber optics shooting out
of a caldron.
my not to scary cemetery
The Raven
Meet my friend Drack
Monday, September 23, 2013
Christmas Ornaments
Just a little behind in my posting, Here are the 3 of the 6 ornaments I made for
Fran's Christmas Ornament Swap that was due in September.
Monday, August 12, 2013
The BBQ Art Gathering
![]() |
| Maura Sample Fairy Luminary |
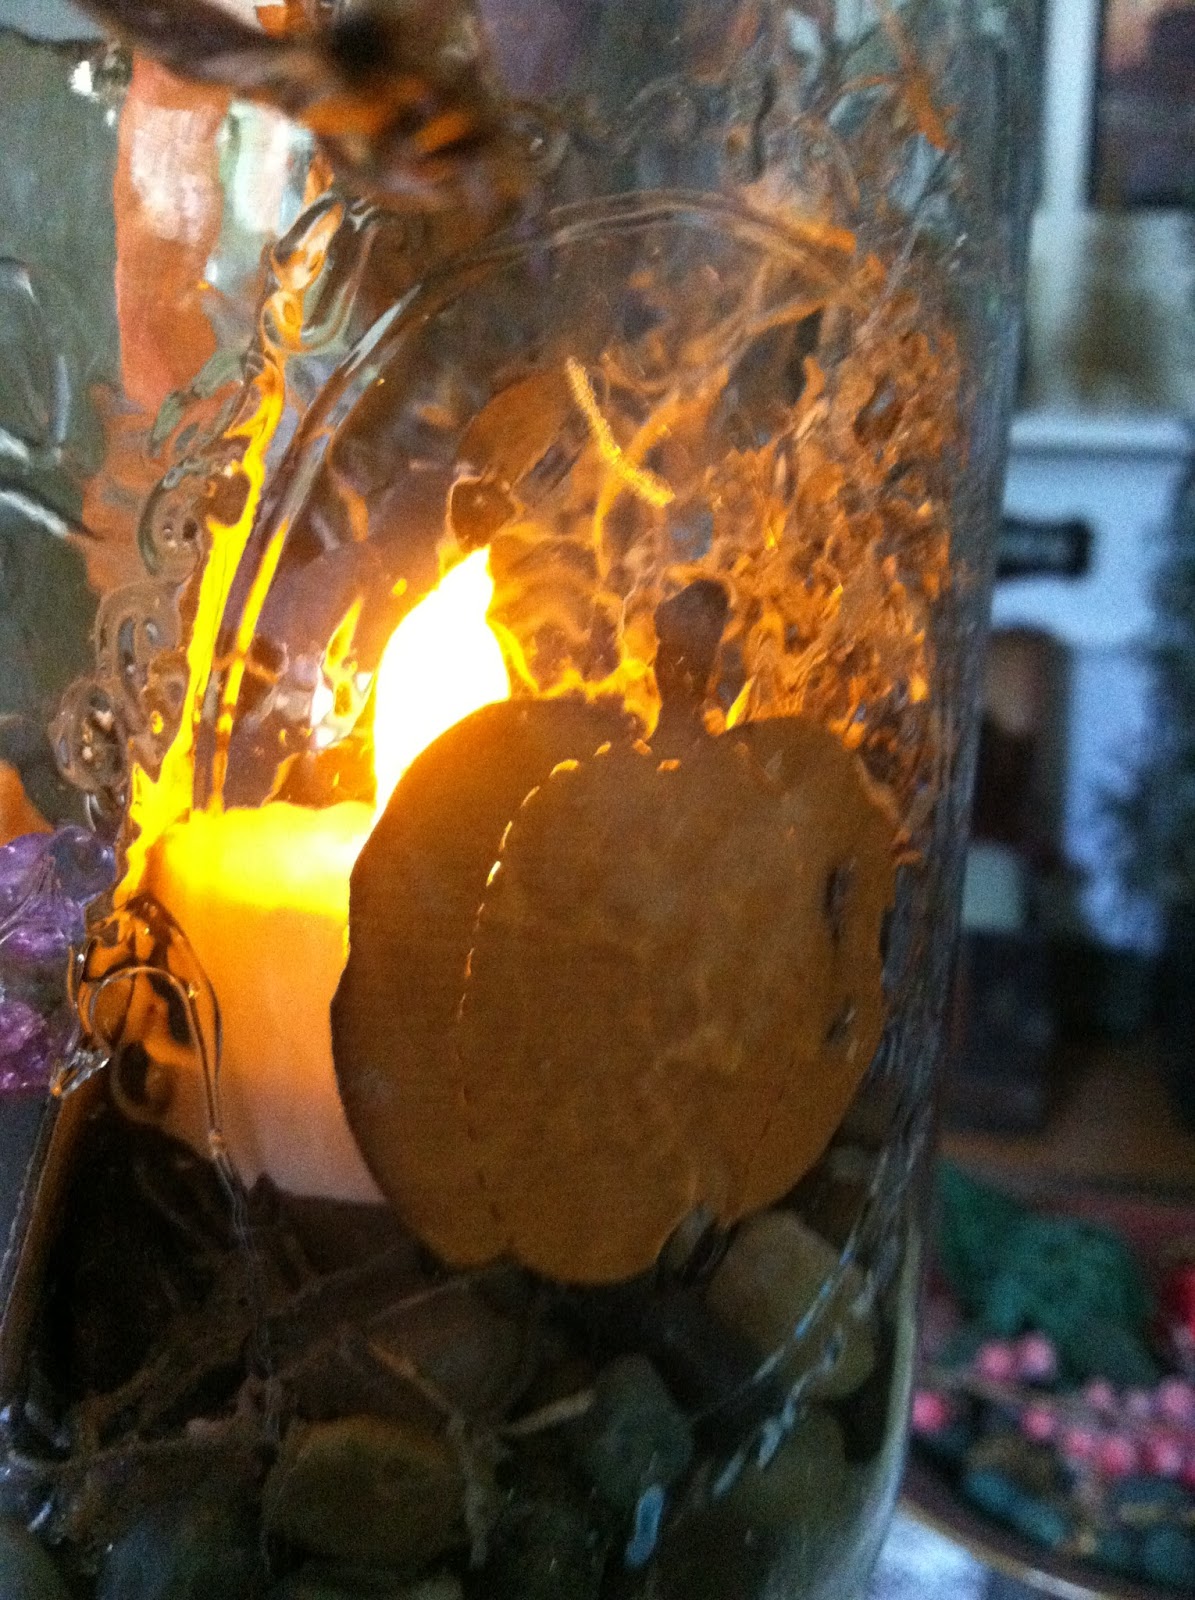
Maura and Lori knowing how much I love Halloween found a collage sheet with Witches, cats, cauldrons brooms just everything Halloween, they even found this little orange ceramic cat sitting on a pumpkin for me. I was in my glory. So of course it took me a couple minutes to gather a few things to start creating my Witches Luminary. I used stones for the base, glued some moss to the glass for a back ground glued some little plastic glittery beads to the top of the cauldron along with some glitter to make it look like it was bubbling and even made a spell book for my Witch. Once I had this all assembled I decided she need a broom so with another twig and some raffia I made her a broom and wired it to the outside of the jar then tired some ribbons on, that were hand dyed by Maura (shades of orange, green and purples)knowing I would do a Halloween theme. And Laura had a Tim Holtz trinket with the points of the compass on it that just completed the evenings project. I LOVE LOVE LOVE my WITCHES GARDEN.
| My Witches Luminary |
| Check out all the details |
| Check out the bubbling cauldron |
| and the not so scary, scary pumpkin |
I want to once again say thank you to Lori and Maura for hosting this fun art gathering. And for all the special attention to details. It just made the evening.
Friday, August 9, 2013
Wendy Vecchi Mixed Media Adventure
![]() |
| Studio 490 Stencils |
![]() |
| Studio 490 Stamps |
...........Art Parts .................................. Embossing Paste .................................. Archival Inks
Using all of these products plus more from her line we created a Journal
| Back and Front cover (all made from Studio 490 Art Parts) |
The only other products used to put this together was Tim Holt's scissors and wet glue.
| Wendy Vecchi's Finished Journal |
| Sue Black, Wendy Vecchi and Me with her new Archival Inks. |
I have to say this 8hr class went so fast, and that Wendy is a fabulous instructor, if you get a chance to take a class with her do it, it is so worth it. I know that I am looking forward to spending the day with her again at some point in the future.
Sunday, July 21, 2013
Bee Keepers Character Construct Swap.
Saturday, July 13, 2013
Tim Holtz Tag Book Make Over
As I blogged earlier this month I took a class at Life's Memories and More in Palmer Ma
where I made the new Tim Holtz tag book. I wasn't quite happy with the way the book was
assembled so I decided to play around with it to see if I could change it to my liking.
This is what it looks like now that I've finished playing with it.

I first removed the 3 ring binder clip and turned the brads around so that the flat side of the brads were on the inside of the book and the points were on the outside of the book. After flattening them out I glued them with a strong glue to the books spine. I then took a piece of sticky back canvas and did the techniques we learned to grunge the canvas up, did some light stamping and put it on the spine of the book over lapping the canvas on the front and back.
I then punched a hole in the top center of the spine and attached some charms and the key to hang. I am very pleased with the way it now looks.
This is what it looks like now that I've finished playing with it.
I first removed the 3 ring binder clip and turned the brads around so that the flat side of the brads were on the inside of the book and the points were on the outside of the book. After flattening them out I glued them with a strong glue to the books spine. I then took a piece of sticky back canvas and did the techniques we learned to grunge the canvas up, did some light stamping and put it on the spine of the book over lapping the canvas on the front and back.
I then punched a hole in the top center of the spine and attached some charms and the key to hang. I am very pleased with the way it now looks.
Subscribe to:
Posts (Atom)